Edible Ink Printer on Coffee Foam: Toppers vs Direct
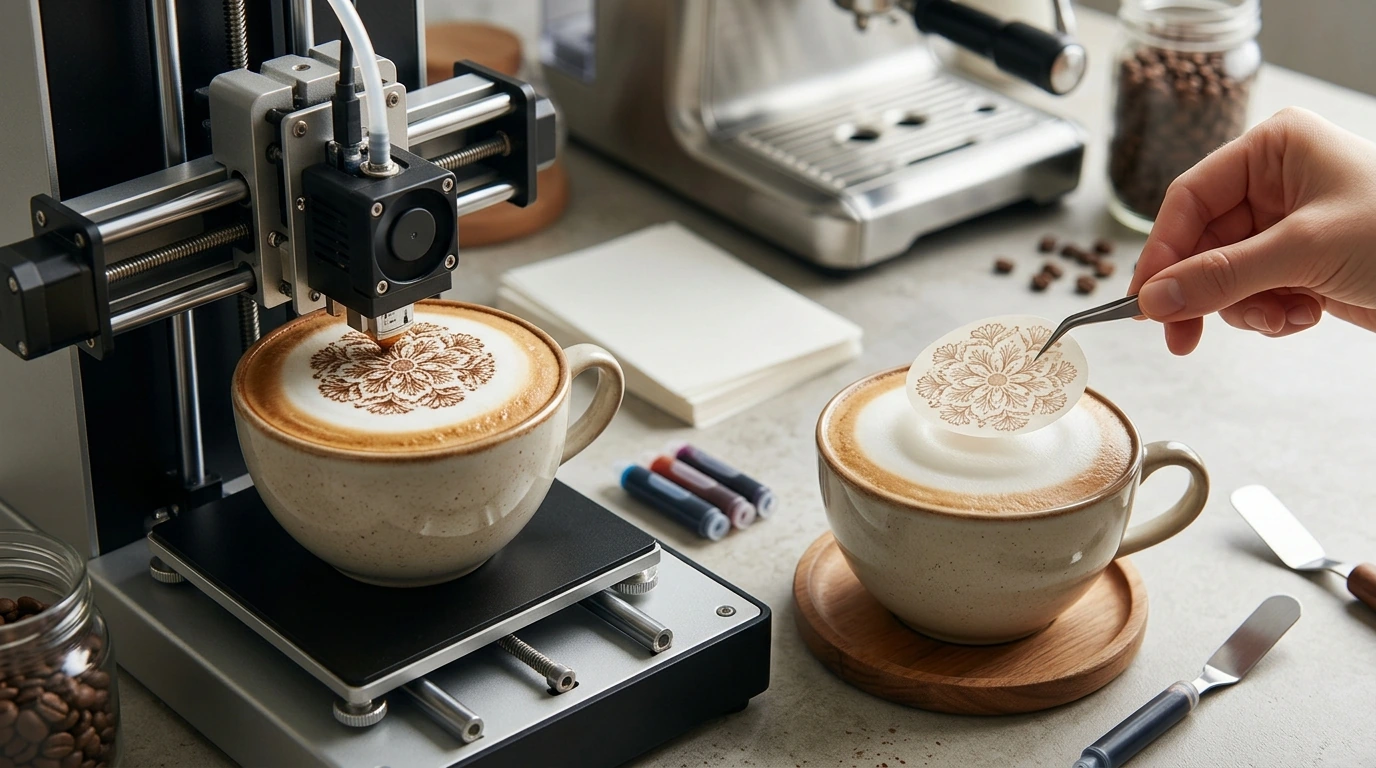
Can an edible ink printer print directly onto coffee foam, or do I need edible paper toppers?
Most edible ink printers are not designed to print directly onto coffee foam. They’re built to feed flat, dry sheets—like frosting sheets or wafer paper—through rollers and print heads at a fixed distance. Coffee foam is wet, airy, and uneven, which can cause smearing, clogging, and inconsistent color, and it can also contaminate parts of the printer that aren’t meant to contact food.
Best option for coffee: edible paper toppers
If you want reliable logos, photos, or detailed designs on lattes and cappuccinos, edible paper toppers are the practical route. You print the image on a frosting sheet (soft, more vibrant) or wafer paper (thinner, more matte), cut it to size, and place it on the foam. The topper creates a stable surface, so lines stay crisp and the design looks intentional instead of “bleeding” into bubbles.
What about printing straight onto foam?
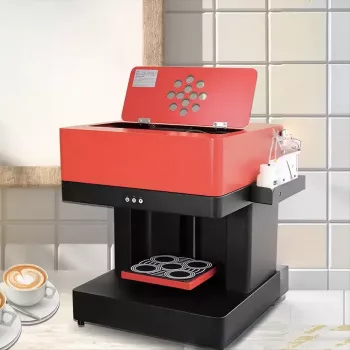
Direct-to-foam printing typically requires a specialty beverage printer that sprays edible ink downward onto the foam surface, compensating for uneven texture. These units are purpose-built for drinks and are different from standard edible ink printers used for cakes and cookies. If your goal is frequent drink customization (cafés, events, branded activations), a beverage printer can make sense. For occasional use, toppers are usually faster, cheaper, and easier to control.
Quick tips for cleaner results
Use a stable, fine-textured foam (microfoam) and place the topper gently on top rather than pressing it down. Print at high resolution, let the sheet dry briefly if needed, and store unused sheets sealed to prevent humidity from softening them before you’re ready.
For a deeper look at equipment options and practical do’s and don’ts, visit the full guide here.
FAQ
What’s the difference between frosting sheets and wafer paper for drinks?
Frosting sheets usually deliver brighter colors and a smoother look, while wafer paper is thinner and can appear more matte. For coffee foam, frosting sheets often look more “printed” and less translucent once placed on top.













Leave a comment