Install an Aluminum Car Trash Can Without Trim Damage
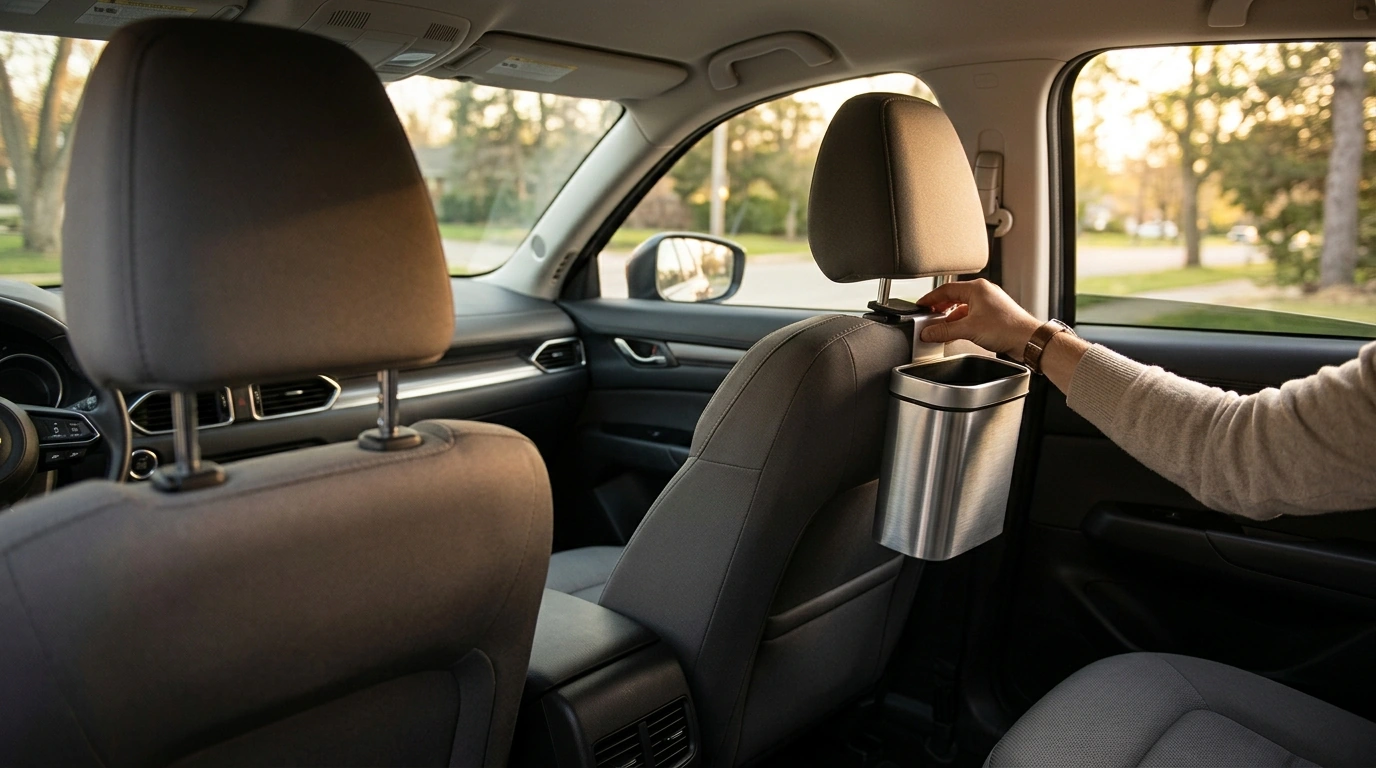
How do you install an aluminum car trash can without damaging interior trim?
To install an aluminum car trash can without scuffing or denting interior trim, focus on two things: choosing a mounting spot that doesn’t rub, and adding a soft barrier anywhere metal or hardware could touch plastic, leather, or fabric. Most damage happens from vibration over time, not the initial install, so a secure, padded setup matters.
Pick a low-contact, stable mounting location
Good spots are the back of a center console, the side of a seat base, or inside a door pocket area where the can won’t swing into trim. Avoid areas with frequent knee contact, tight panel gaps, or near moving seat rails. Before committing, slide the seat through its full range to confirm nothing binds or scrapes.
Use trim-safe attachment methods first
Start with non-invasive options like a seat-back strap, adjustable headrest/console strap, or a hook that hangs from a rigid edge without pinching soft panels. If your can includes a clip, test-fit it with a microfiber cloth between the clip and the surface to verify there’s no pressure point.
Add protective padding wherever parts touch
Place felt pads, thin foam tape, or a small strip of microfiber at contact points—under brackets, behind clips, and where the can body might tap trim. This prevents squeaks and stops anodized aluminum from polishing or marking plastics over time.
If using adhesive, prep carefully and remove safely
If the design relies on adhesive pads, clean the surface with isopropyl alcohol, let it fully dry, then press firmly for 30–60 seconds. For removal later, warm the pad with gentle heat and peel slowly; any residue can usually be rolled off with a thumb or removed with an adhesive-safe cleaner.
For a deeper walk-through and placement tips by vehicle type, see the main guide here: How do you install an aluminum car trash can without damaging interior trim?
FAQ
Where should you place a car trash can for the least mess?
Aim for a spot that’s easy to reach but won’t tip—like behind the center console or attached to the passenger-side seat back. Keeping it upright and away from footwells reduces spills and scattered crumbs.















Leave a comment